
Final Major Project
Digital Capture Week First Test Shoot
We were given a week to do anything practical. I decided I'd take two test shoots and attempt filming, This was the first shoot, Where I used two LED lights and changed the colours and used a cannon camera with a micro lens to take these photos.


Best of Test Shoot One
For this small array of photos i took them from the first shoot and when choosing these images I went for abstract or unique photos that were either better focused, better lighting, the right amount of contrast or just the colours. This made for an interesting bunch of chosen images.


Experiment Edit
This was an edit to see what I could do with some of my final images, I used Lightroom and Photoshop to edit this test photo and think it came out well. For the editing process I used Lightroom to tweak the image e.g. the saturation, noise, vibrance, grain, colour tones and added a vignette effect, I then tweaked the hue and saturation more and brightness and contrast in Photoshop to add to the image.

Digital Capture Week Second Test Shoot
This was my second test shoot, where I continued to use LED lights and micro lens, however I decided to try the tri-pod for this shoot.


Digital Capture Week Third Test Shoot
For the third test shoot I decided to mess about with the shutter speed and the ISO.


Video of Preparations In Painting
This was a Tik Tok video that I made to show the preparations in painting my miniatures. In which i showed what paints i would be using to paint the Ork Boyz and the Ork Truck
Video of Diorama Preparations
This is a short video showing the preparations for the diorama, this entailed setting the miniatures where they were going to go when the diorama was finished.
Video of The Cutting of The Diorama
During this video it shows me cutting into the diorama then showing the result after i carved it to how i wanted it to look.
1st Stage of Painting
In this video I am adding the first layer of paint and i'm also adding texture paint to the areas that look plastic like and rubbery.
2nd Stage of painting
In this video i showed me adding the second layer of paint, for this one i decided to do a timelapse as i didn't want it to be as long as the first stage of painting also so i would get a more varied set of filming types.
Painting of Ork Model
During this video i am painting one of the Ork Boyz models, through this video you will see how i have painted all of the Orks and how much detail and effort goes into each.
Production Diary
This is my production diary where i have commented on what i have been doing up until the deadline, I may add to this soon.

1st Final Shoot
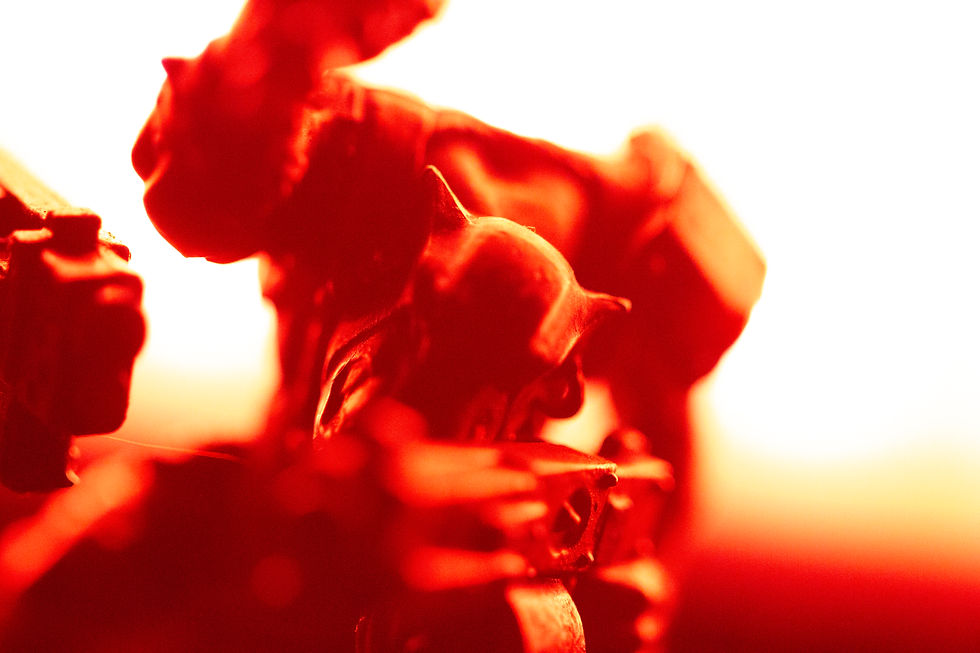
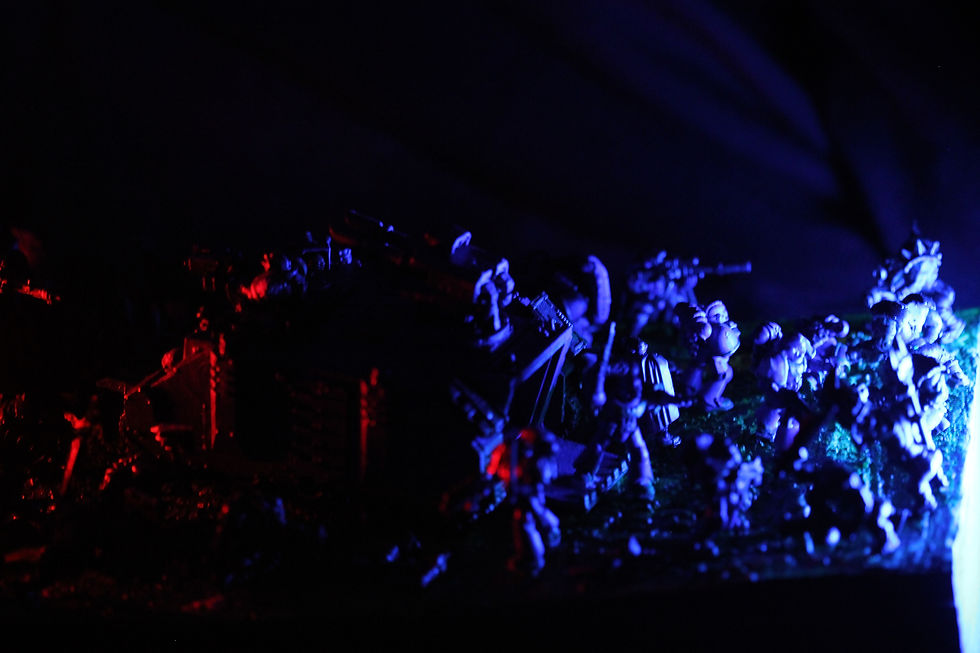
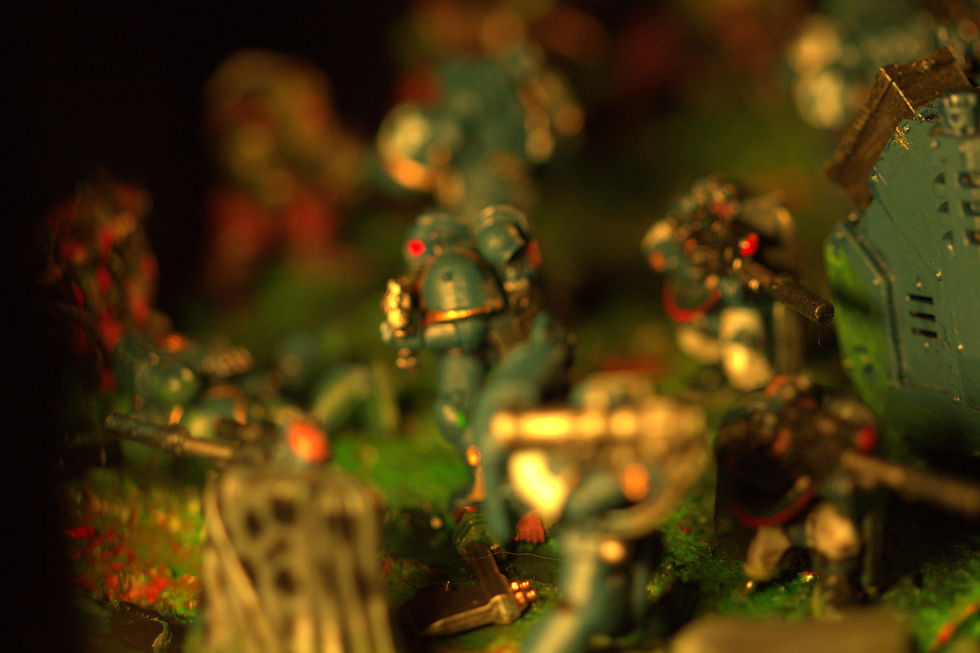
This was my first final shoot in which I photographed the finished diorama with a macro lens and LED lights. For the light colours I decided to use colours that were opposite to each other in the spectrum. For this shoot I used the macro lens and LED lights to get dramatic close ups of the diorama, to emphasise this I used a black background. In this shoot for the colours I chose blue and red.


2nd Final shoot
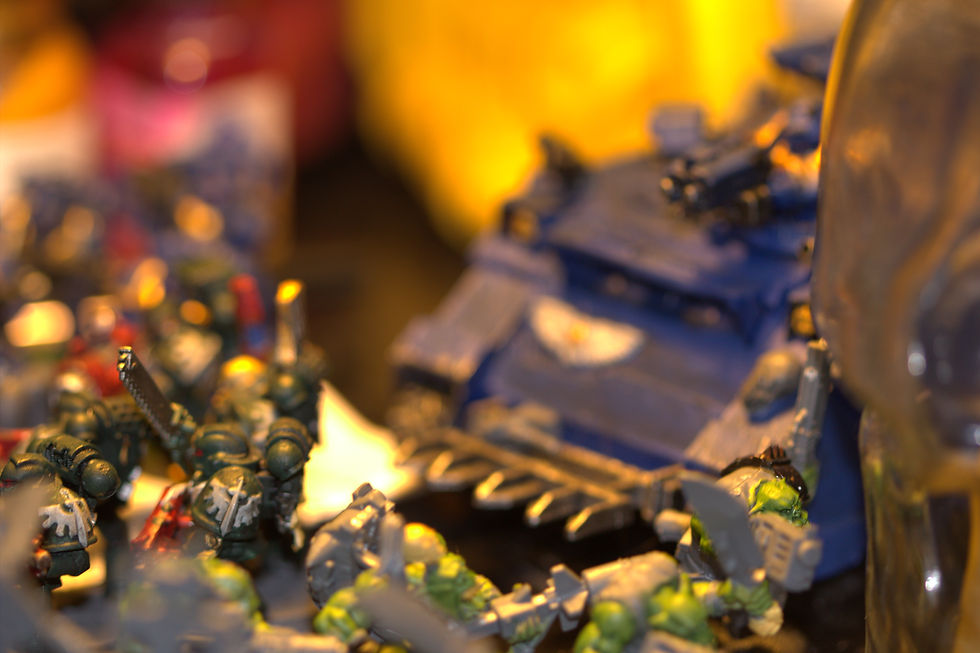
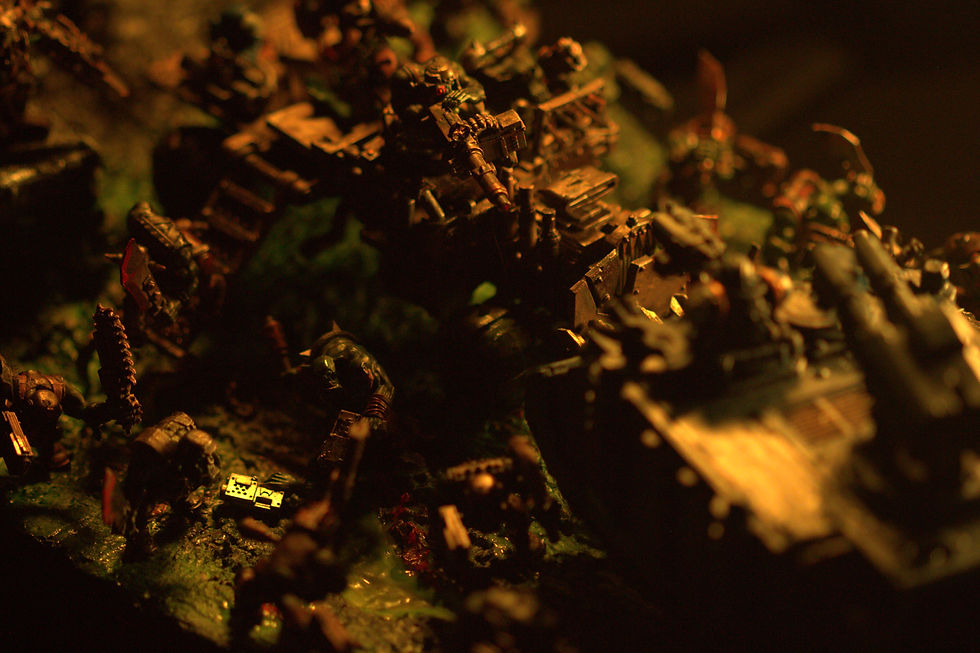
This was my second final shoot in which I photographed the finished diorama with a macro lens and LED lights. For the colours I changed the LED's to yellow which showed the detail in the diorama and on the models.


3rd Final Shoot
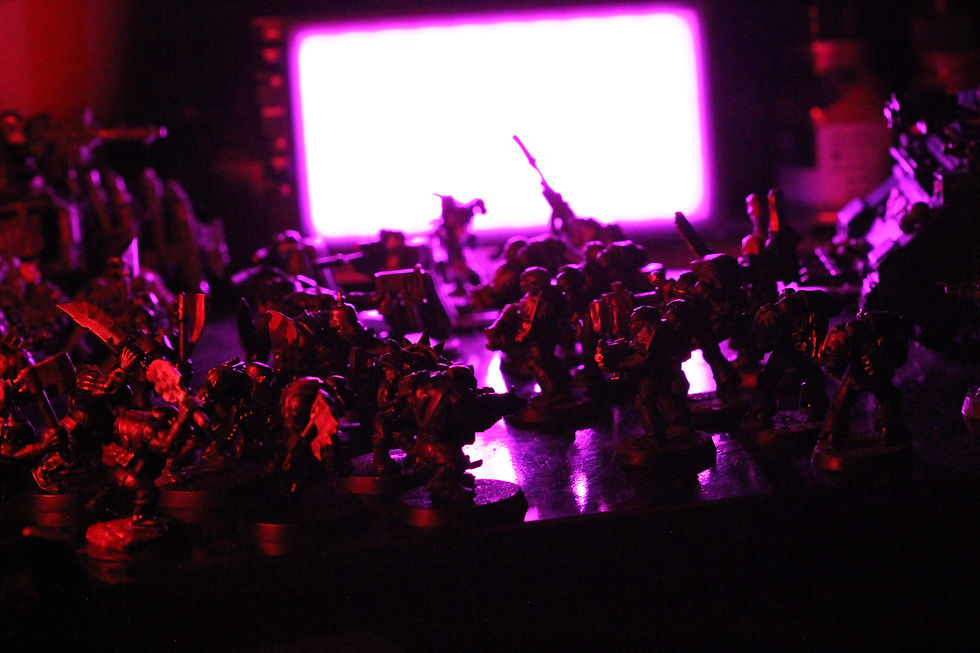
This is the third shoot I did in which I changed the colours one last time, I changed them to red and turquoise this gave the diorama a comic look but also heightening the detail of the diorama. It also gave some of the images a religious feel.


1st Experiment With Final Shoots
During this experiment and with all of these experiments i used the Photoshop lightroom for RAW photos to edit these images, i did this because it was a more concentrated way of creating experiments. For this one I tweaked the saturation and vibrance then the grain, dehaze and clarity to make the detail rise and to give a comic feel to the original photo.

2nd Experiment With Final Shoots
For this image i tweaked the temperature and tint then the clarity a finally the saturation and vibrance to give the photo a more realistic yet comic feel.

3rd Experiment With Final Shoots
And finally with this 3rd photo I decided to try and make the photo clearer and I also added a vignette this gave the original image a a more eerie look.

Finished Photobook
This is my finished product for my first year FMP. It is a photobook, full of the best photo from my three final photoshoots (there are 12 in total).


